Do not index
This guide will walk you through the process of mapping categories, generating the loadsheet from your Wherehouse dashboard, and importing it into Shopify.
Wherehouse’s catalogue provides a central location that marries together your products attributes from suppliers, ERP systems and online stores. Thereafter, Wherehouse’s loadsheet generators aid in getting product attributes, images and so forth ingested into your sales channels.
Step 1: Mapping Categories
Before generating your Shopify loadsheet, ensure your categories are correctly mapped to Shopify’s. This process is explained in detail in our Category Mapping Guide

Step 2: Generating the Loadsheet
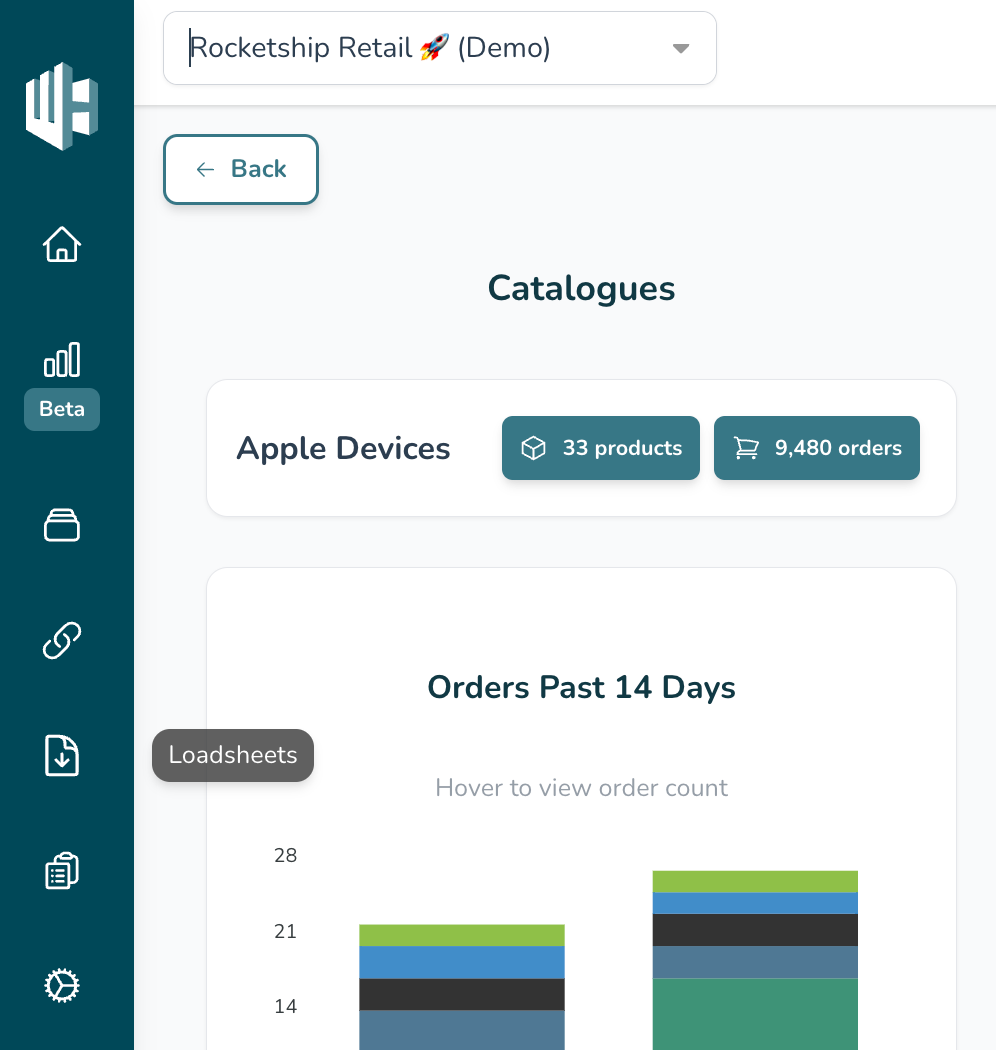
1️⃣ On the Wherehouse dashboard, within the subscription you’d like to generate a loadsheet for, select Loadsheets from the sidebar.


2️⃣ Click on the loadsheet to view its connectors.

3️⃣ Click on the Shopify Loadsheet connector.

4️⃣ Hit Download.

5️⃣ Confirm that all the info on the pop-up is correct.
If you have more than one catalogue use the drop down to select the correct one

There is an Options section, which should only be used if needed:
- Specify specific SKUs will allow you to enter a specific list of SKUs and download a loadsheet including only the list of SKUs you entered.
- Include existing items will include items that you have already listed on Shopify in the loadsheet.
- Include unmapped products will include products for which the category mapping have not been completed in the loadsheet.
6️⃣ Click Download.
The populated loadsheet will be downloaded to your device for review before uploading to Shopify.
Step 3: Reviewing the Loadsheet
Before importing, review the loadsheet:
- Remove any unwanted products (rows).
- Ensure all product details are correct.
- At this stage you can make any necessary adjustments to fields such as price, descriptions, or other product details before importing.
Important Notes:
- The column labeled Published defaults to TRUE, ensuring the product will reflect on your store once the status is changed to Active.
The different Shopify Product Statusses explained:
Draft: The product is hidden from your online store, allowing you to review and edit it.
Active: The product is live and available for purchase.
- The column labeled Status defaults to DRAFT, ensuring products do not go live immediately, giving you time to review them before going live.
Reviewing the loadsheet often results in saving it as an Excel/Google Sheets file. Ensure you save it as a .CSV file before submitting.
Step 4: Importing the Loadsheet to Shopify

1️⃣ From your Shopify admin, go to Products.
2️⃣ Click Import.

3️⃣ Click Add file and select the CSV file you downloaded from Wherehouse

4️⃣ Click Upload and continue.

5️⃣ Review the import details and click Import products.
Shopify recommends using Google Chrome to avoid upload issues.
Once your products are successfully imported into Shopify, you’ll receive a confirmation email. The import process may take some time, depending on the number of products being uploaded.
Step 5: Final Checks on Shopify
Review Products in Shopify
All imported products will be in Draft status.
1️⃣ From your Shopify admin, go to Products.
2️⃣ Select Draft in the filter bar to view all draft products.

3️⃣ Click on a product to open it for review and update as needed.
4️⃣ Once satisfied, you can change the status to Active to publish it (this can be done individually or in bulk as per below steps).
Change Status Individually

1️⃣ Click on a product to open it.
2️⃣ Navigate to the Status section.

3️⃣ Select Active to make the product available for purchase.
4️⃣ Click Save.
Change Status in Bulk

1️⃣ Select multiple products using the checkbox next to each one.
- OR: To select all draft products, tick the checkbox at the top.
2️⃣ Click Set as active (top right).

3️⃣ Confirm by clicking Set as active in the pop-up.
Remember, a loadsheet uploads product attributes at a single point in time. To have stock and pricing updated in real time, contact the Wherehouse team to set up an API-based connector to keep these newly loaded products in sync.