Do not index
Create a custom, additional user on your Makro account to allow communication with Wherehouse.
Steps on Wherehouse 👨💻
.png?table=block&id=a8c85f16-461d-4a89-a12b-4ba298cc17ae&cache=v2)
1️⃣ On the Wherehouse dashboard, within the subscription you’d like to authorize, select 🔗 Platforms from the sidebar

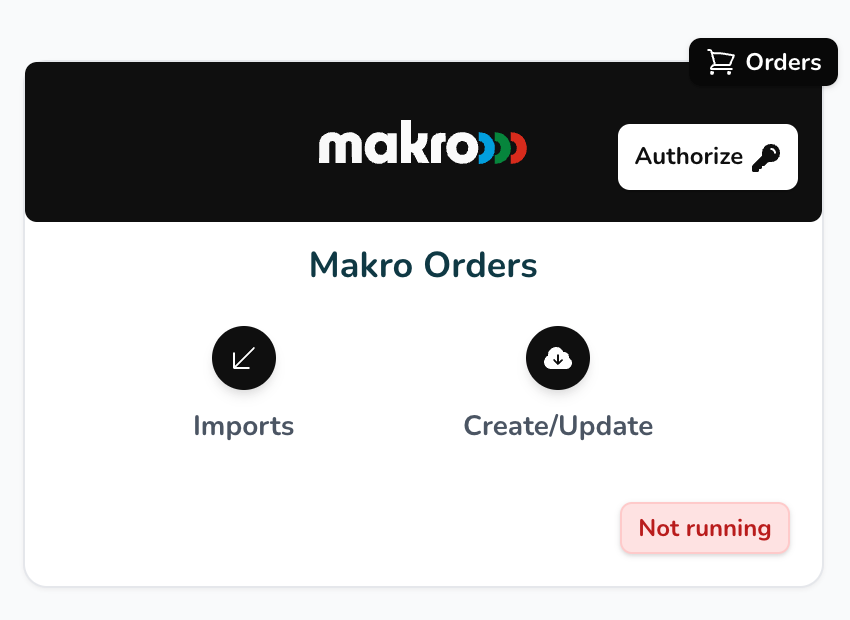
2️⃣ Look for the Makro connector(s)
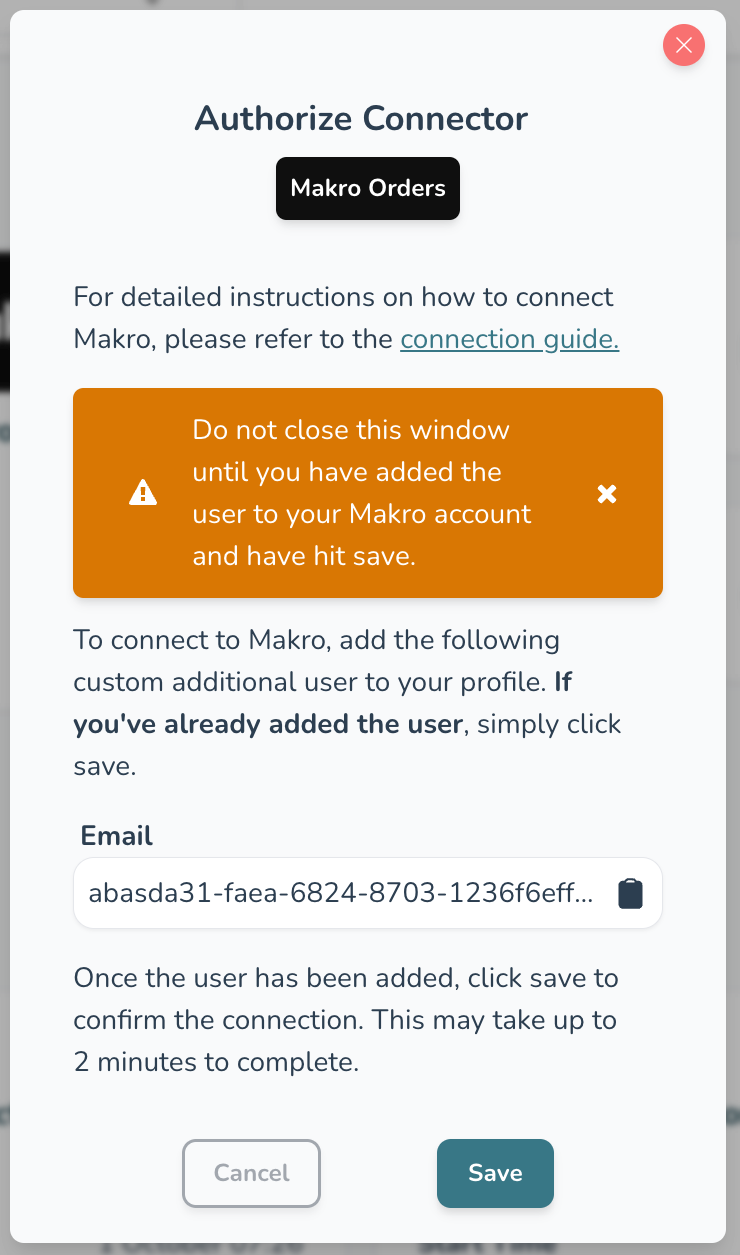
3️⃣ Click Authorize, this will take you to a modal asking you to create a custom, additional user on your seller.makro.co.za profile

4️⃣ Click on the 📋 (Clipboard icon) next to the Email box, this will copy your unique
Email ID to be used when creating the custom, additional user on your seller.makro.co.za profile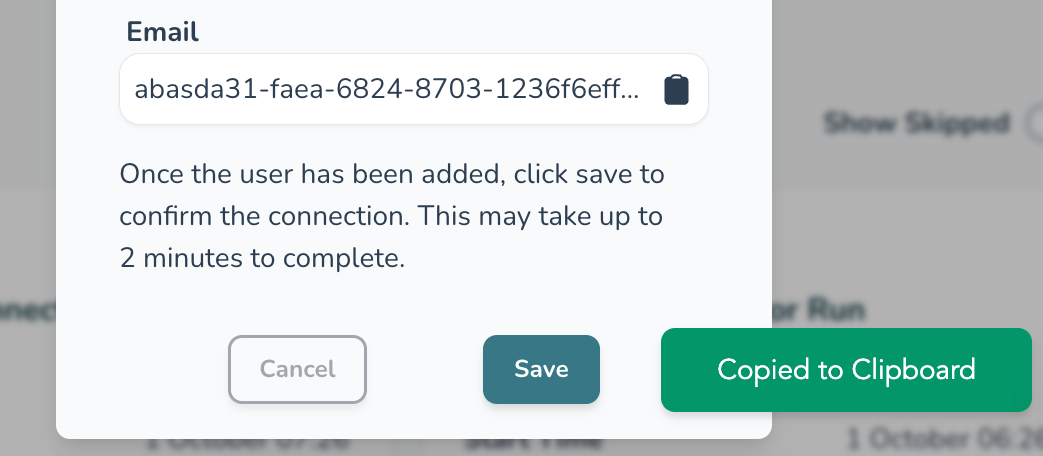
After clicking, you should see “Copied to Clipboard”
5️⃣ Keep this window open while you add the user to your Makro account❗️
Adding the custom user on the Makro Seller Portal
1️⃣ Log in to your Marko Marketplace seller portal
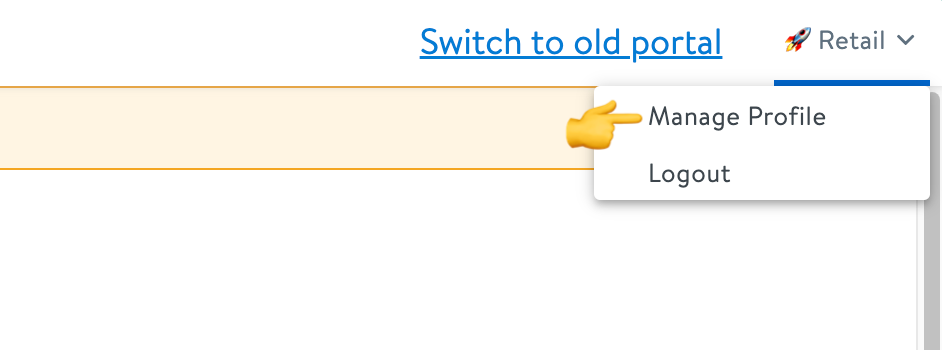
2️⃣ Open the drop-down next to your profile (top right)
3️⃣ Click on “Manage Profile”
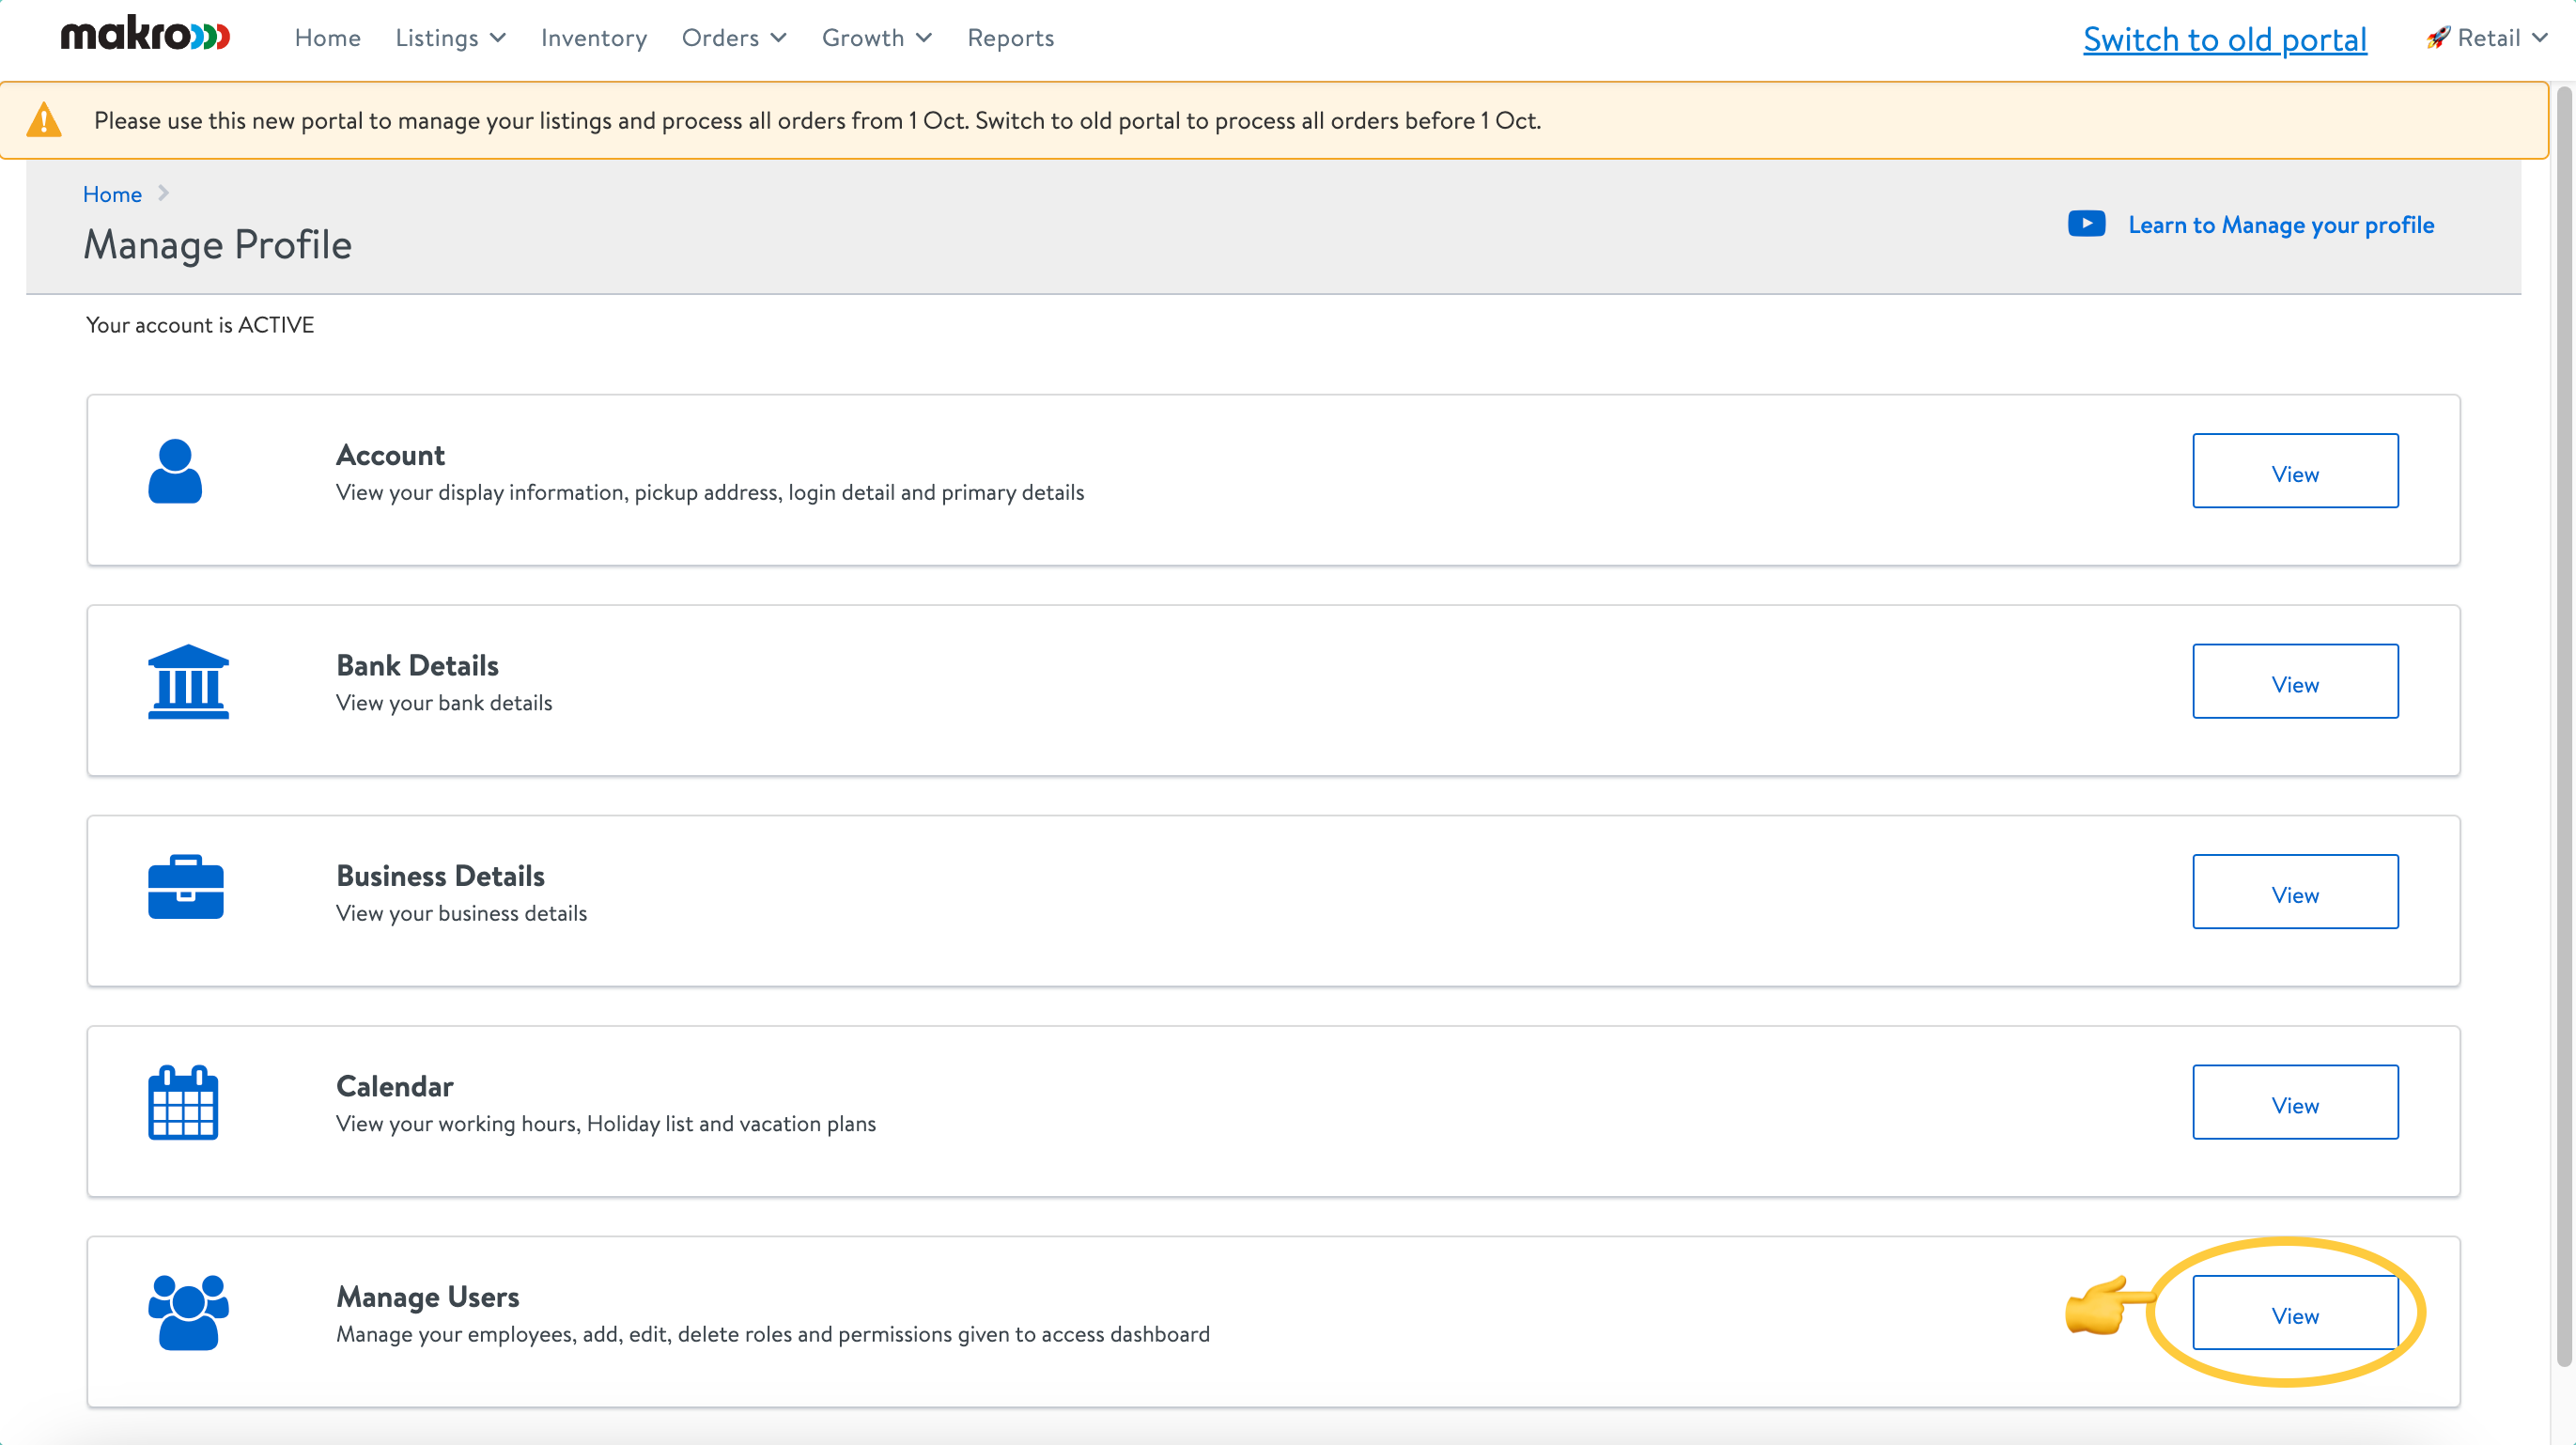
4️⃣ Navigate to the “Manage Users” section
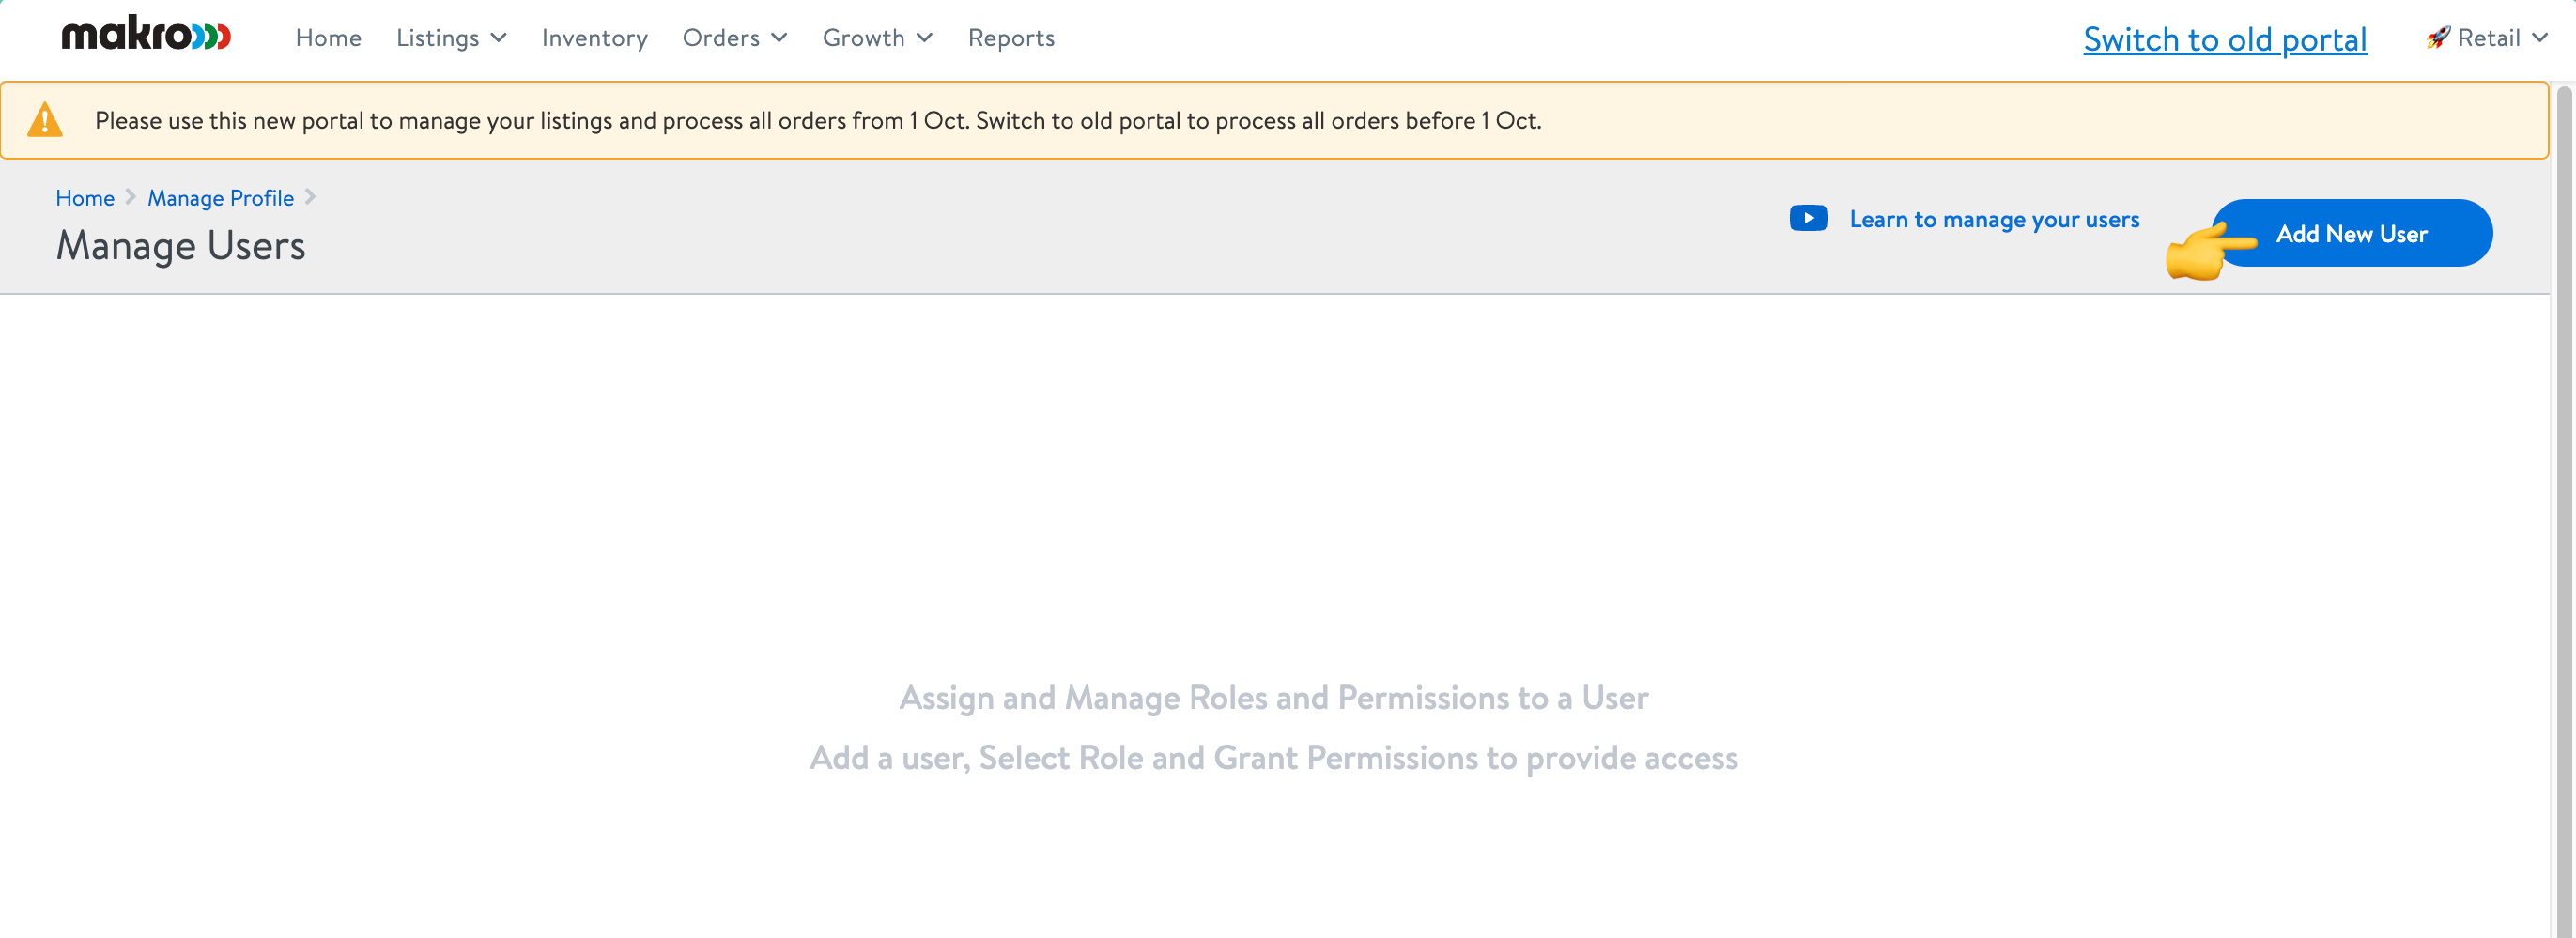
5️⃣ Click “Add New User”
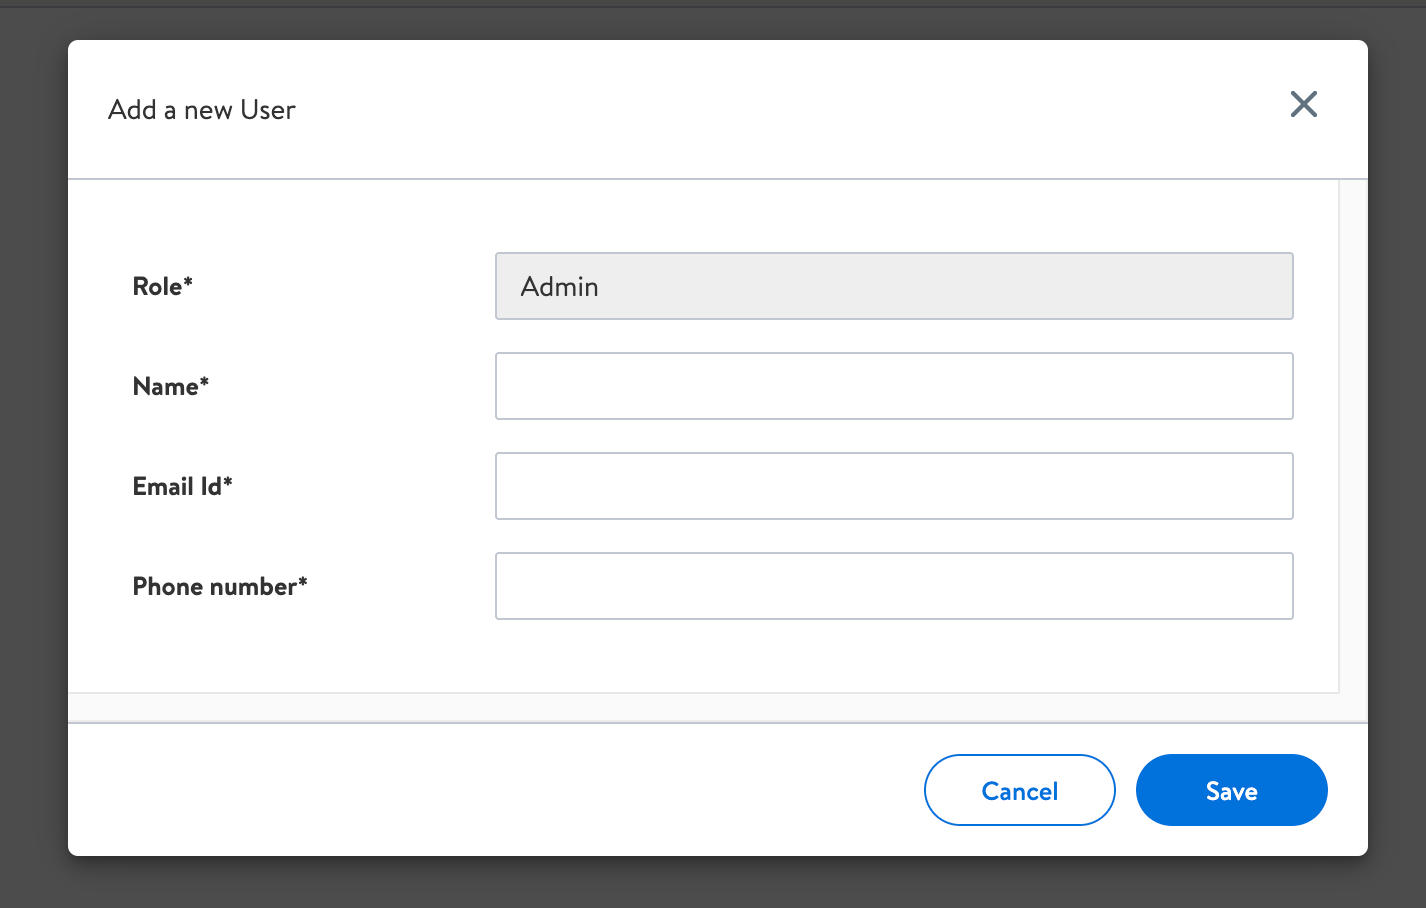
6️⃣ Enter the following details for the custom Wherehouse user:
- Role: Admin
- Name: Wherehouse
- Email Id: Paste the unique
Email IDthat you copied from the Wherehouse dashboard
- Phone number: Enter a phone number (can be your business or personal number)
7️⃣ Hit “Save”
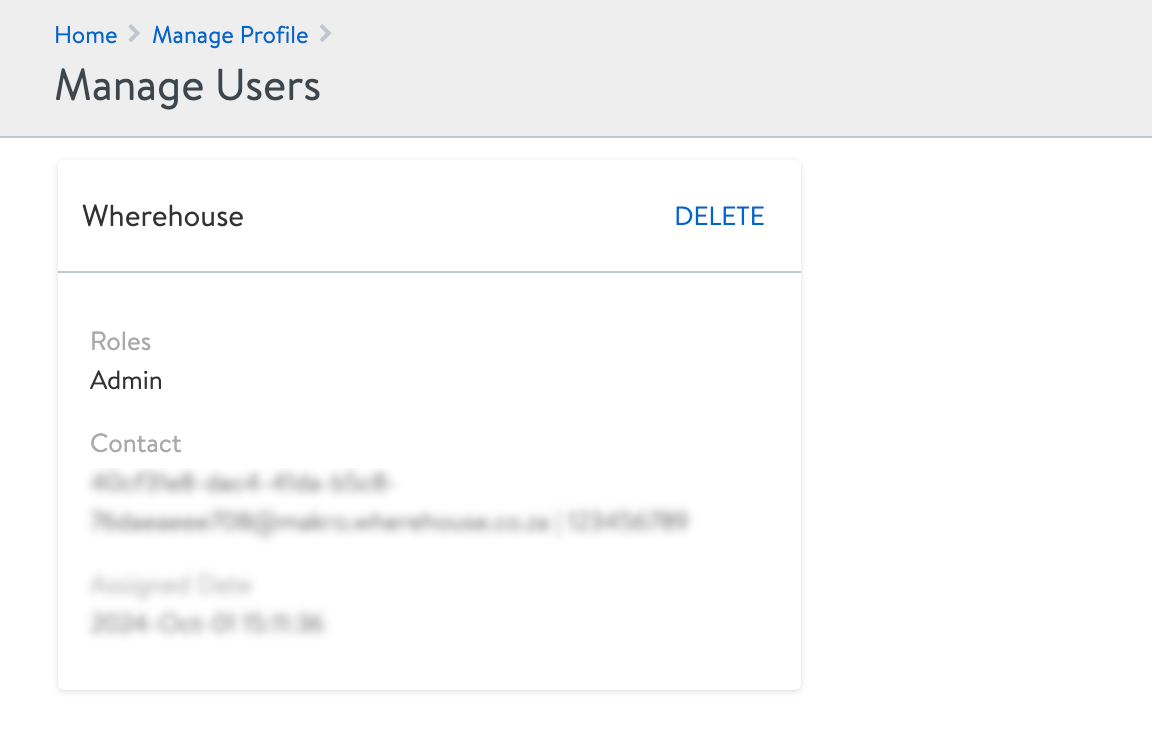
If all went well, you should see the new “Wherehouse” user on your Makro seller profile
Back to Wherehouse 👨💻
After you’ve added the custom user on your Makro account, go back to the window on Wherehouse and hit “Save”.
If you have multiple Makro connectors, you only need to create the custom user once.
For any remaining Makro connectors:
1️⃣ Click Authorize
2️⃣ Then, just hit Save
IMPORTANT:
The custom Wherehouse user needs to remain active on your Makro account, removing it will prevent us from syncing to Makro.
If you have more than one Makro account, we can connect with both, BUT you’d need different Wherehouse users for each.
📧 Please reach out to your onboarding consultant or hello@wherehouse.co.za to assist.